Photograph Recipes: Make Every Photo Readable
Most people who photograph an old family recipe think one thing afterward: done.
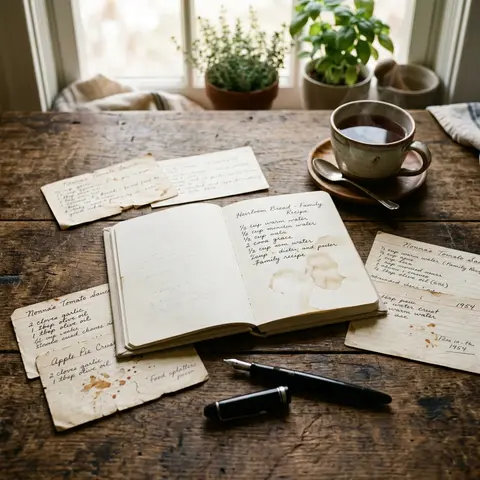
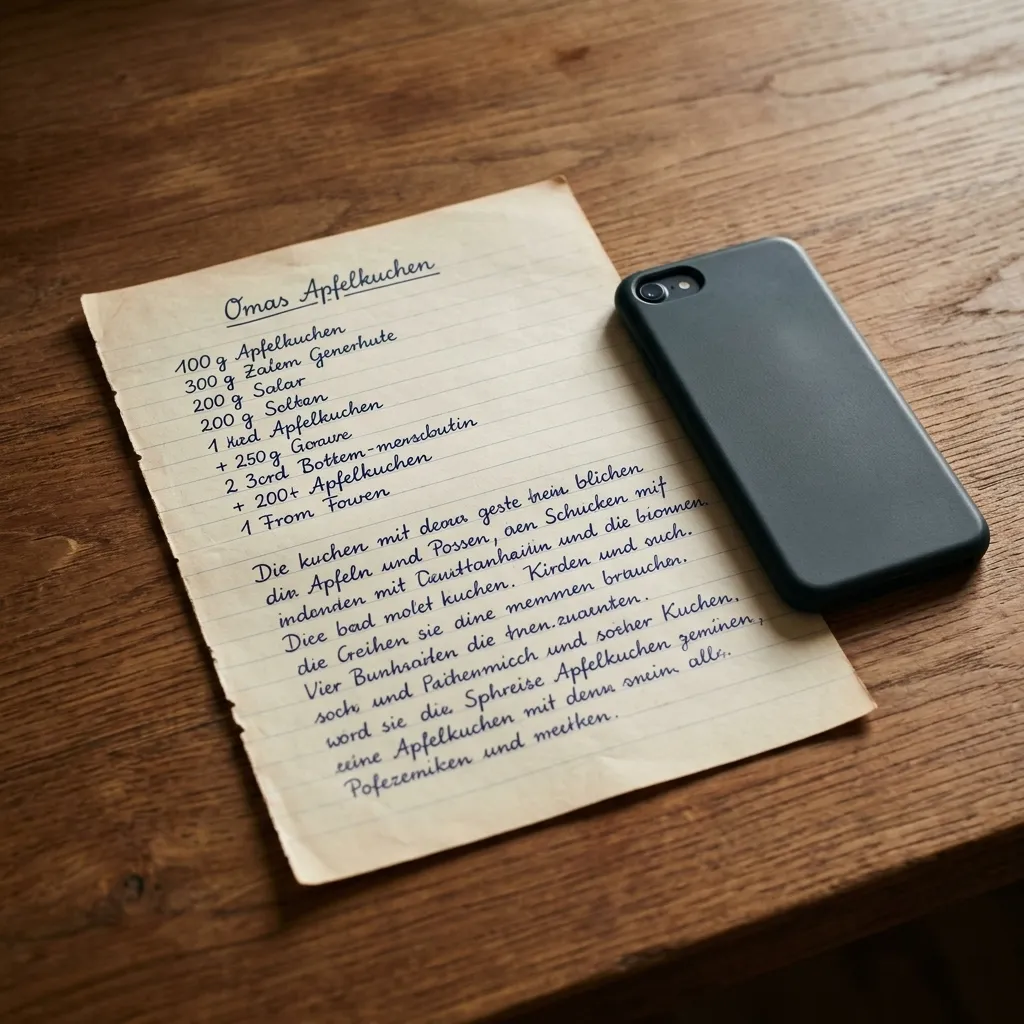
You still have your grandmother's recipe. It's lying somewhere in the kitchen drawer, slightly yellowed, the ink already a bit faded. The recipe exists in exactly one place. If the paper is gone, so is it. No date is written on it, but moves, water damage, and time don't wait for a good plan.
Is a phone photo really enough as a backup, or is there a reason so many family recipes are lost despite being photographed?
The essentials at a glance
- A blurry or poorly lit photo is not a backup, it's the illusion of one.
- Indirect side light from a window is the best, free light source for handwritten recipes.
- Photograph vertically from above at 30–40 cm distance, use a timer, avoid zoom.
- Photo plus editable digital copy are two different things, and you need both.
- The right time is today, not when the collection is complete.
Why a simple phone photo often isn't enough
A blurry or poorly lit photo of a handwritten recipe is not a backup—it's a false sense of security. The ink fades on the original, the photo stays unreadable, and the recipe is lost anyway. Most people don't realize it until they enlarge the photo for the first time on a larger screen, by which point the original has long since disappeared.
The problem exists on three levels. First, the contrast problem: pale ink on yellowish paper vanishes in the photo almost completely, because camera algorithms optimize for faces and bright surfaces, not faded handwriting. Second, depth of field: a phone's autofocus regularly fails with wavy or creased pages. Third, the digital grave risk: the photo lands unnamed among hundreds of other shots and simply becomes unfindable after a device change.
What we observe repeatedly at FamFood: users upload photos and open them for the first time on a larger screen, only to discover that essential lines are no longer readable. The original is often long gone by that point.
"Saved" doesn't mean "there." It means: readable any time, findable any time, and on a device you'll still be using in ten years.
But light is only the most obvious problem, and it's not the hardest one.
What light actually makes handwritten recipes readable?
Indirect daylight from the side is the best light source for handwritten recipes. It produces no reflections, lifts the ink off the paper, and costs nothing. Direct sun and ceiling lights are the two most common mistakes when photographing documents, because both deliver flat, reflection-producing light instead of the desired raking light. According to Stiftung Warentest, smartphone cameras deliver noticeably better detail sharpness in indirect daylight than under artificial ceiling lights, especially with low-contrast originals.
The angle is crucial. When light falls at an angle from the side, each ink stroke casts a tiny shadow. This doubles the perceived contrast without you needing to edit the photo afterward.
Front-facing light, whether flash or ceiling lamp, erases this effect and makes the ink look flat and pale. Evening without daylight: hold a desk lamp at an angle to the side instead of using the ceiling light. The angle of incidence should be about 45 degrees to the paper surface.
Light source | Suitable? | Why |
|---|---|---|
Indirect window light, from the side | Yes, optimal | No reflection, high contrast, no equipment needed |
Direct sun from the front | No | Blown-out bright areas, reflections |
Ceiling lamp, centered | No | Flat light, no ink contrast |
Flash | No | Bleaches ink, creates white spots |
Desk lamp, from the side | Yes, evenings | Side light creates contrast similar to window light |
In tests with iPhone and Samsung, handwritten recipes show sharpest when the angle is between 30 and 50 degrees; below 20 degrees you lose detail at the bottom edge.
Three-second light check before every photo: hold your hand over the paper. If you see a clear shadow, the angle is right.
Once the light is right, one thing decides whether the text will still be readable in ten years.
How do you keep the camera and recipe still enough for sharp shots?
The most common cause of blurry recipe photos is not camera quality, but camera shake and paper warping. A recipe laid flat on a table, photographed from 30–40 cm straight from above, delivers a readable result with any modern smartphone. The camera doesn't need 50 megapixels. It needs steadiness and a flat original.
Here's how to do it concretely:
Press the recipe flat. Lay a heavy book on the pages you're not photographing and hold it flat for a minute. For stubborn warping, painter's tape at the corners works without damaging the paper. Creased sections are the most common sharpness killer because different areas of paper are different distances from the lens.
Straight down from above, no angled shot. Photographing text at an angle distorts proportions and makes OCR recognition harder later. Hold the phone parallel to the table surface.
Use a timer. Two seconds is enough. Pressing the shutter button transfers movement to the device, which shows up in close-ups. With a timer, this shake disappears completely.
Avoid zoom. Move closer physically instead. Digital zoom degrades image quality and shrinks effective detail.
A sharp, well-lit photo is worthless if you can't find it three days later.
Where and how do you store the photos so they don't get lost?
A recipe photo that lives only in your phone's gallery has a short lifespan: a device change, accidental deletion, or a full storage is enough. The safest solution is a combination of a labeled cloud folder and a second copy in a dedicated app. Both locations protect against different failure scenarios, and no single location replaces the other.
Why "gallery" isn't storage: photos without names and folders are not searchable. After a year and 2,000 other photos, "IMG_20240312_143201.jpg" can no longer be identified without opening the image.
Naming convention for cloud folders that works: Dish_Person_Year, like "ApplePie_Grandma_1987" or "Goulash_Aunt_Irene_1995". This way you find every recipe even without a search function.
Storage location | Advantage | Risk |
|---|---|---|
Phone gallery | Always with you | No name, no folder, lost with device change |
Cloud folder (e.g., Google Drive, iCloud) | Searchable, across devices | Needs naming convention, otherwise becomes a digital grave |
Dedicated recipe app | Categories, search function, structure | Depends on app provider |
Both combined | Maximum fail-safety | Requires one-time setup |
With FamFood you can upload recipe photos directly, create the recipe digitally alongside it, and link both permanently. The photo is the original proof, the digital version is what you actually use while cooking.
The backup rule is simple: 2 copies, 2 locations. If you have only one location, you don't have a backup.
But what about recipes where the photo alone isn't enough because Grandma never wrote everything down?
What do you do if the original recipe is incomplete or unreadable?
Many handwritten family recipes contain abbreviations, missing quantities, or words that only made sense to the person who wrote them. The photo preserves the state, but doesn't fix it. The second step is a supplemented digital version that names the photo as its source.
This is a two-part approach that almost no one implements consistently: the photo is the unchangeable proof, dated and untouched. The digital version alongside it is the living document where you fill in gaps, add quantities, and include notes.
Filling gaps works best while cooking next time. Instead of guessing, you measure the ingredients and enter them in the digital version. A handwritten "flour by feel" becomes "250 g wheat flour type 550" because you've weighed it once.
What often goes missing in practice and how families solve it: in our user data, we see that baking recipes especially often lack complete oven temperatures and times, because these were once considered self-evident. Families solve this by adding the missing information in brackets when first cooking again and noting the date they closed the gap. The Federal Institute for Agriculture and Nutrition (BZfE) also recommends providing context for inherited recipes, noting the occasion, season, and family significance, so the knowledge is fully preserved.
Family notes belong in the recipe just as much: who made it, for what occasion, what the family said about it. Those are pieces of information a photo can never provide.
And then there's the question almost every family asks too late.
When is the right time to start photographing?
The right time is always now, not later. Family recipes don't disappear on schedule: moves, water damage, deaths happen. Those who wait until all recipes are gathered usually wait too long.
The most common trigger in families is a specific event: a move, an inheritance, a serious illness. These moments create urgency, but often too tight. According to the Federal Ministry of Food and Agriculture, passing on food culture and family recipes is a documented priority in German households, yet it's rarely actively shaped in practice.
The ten-minute start is the opposite of project planning: not the whole collection, one recipe today. The phone sits next to the kitchen. The recipe sits in the drawer. Those are the only prerequisites.
Who in the family should start? The person with the phone, not the person with the plan. Documenting isn't a skill you need to develop first. It's a decision.
The first step is concrete: take a photo. Create a folder. Save the recipe in an app. Done for today.
A recipe that exists today can be gone tomorrow. That sounds dramatic, but most families have had this exact experience without calling it that.
Which one recipe will you photograph today?
Frequently asked questions about photographing recipes
Which app is best for saving and organizing recipe photos?
An app that stores photos as attachments to the recipe while also allowing an editable text version is most useful. FamFood combines both: you upload the photo, create the recipe digitally alongside it, and sort it into collections. General photo apps like Google Photos offer no recipe structure and no search function by ingredient.
Can I photograph handwritten recipes with my phone and then search them as text?
Yes, with limitations. Modern OCR functions (e.g., Google Lens or the text recognition feature in iOS) can convert legible handwriting into text. With pale, cursive, or irregular handwriting, it only works partially. That's why the recommendation is: keep the photo as proof, manually transfer the text into an editable version.
How many megapixels do I need to photograph a recipe legibly?
Eight megapixels is plenty for a readable recipe photo; every current smartphone delivers that. Image quality depends less on resolution than on light, sharpness, and a flat original. A 48-megapixel photo with poor lighting is less readable than an 8-megapixel photo with good side light.
What do I do if the original recipe is already faded or damaged?
Create maximum contrast with side light, then post-process the photo in an image editing app (e.g., Google Photos or Snapseed) for contrast and sharpness. Use black-and-white mode: it often brings out faded ink better than color. Whatever stays unreadable after that, ask about at the next family gathering and add it to the digital version.
How do I name recipe photos so I can find them later?
The simplest convention: Dish_Person_Year.jpg, like "CoffeeCake_Grandma_1988.jpg". Put all recipe photos in a dedicated cloud folder named "Family Recipes". That way you'll find them even after a device change, even if you don't remember the exact filename.
For the broader context: how to fully digitize old documents and recipes is explained in the article Saving Grandma's Recipes: How to Digitize Old Family Recipes Forever.
About FamFood
FamFood is a digital family cookbook, built for families who won't leave their recipes to chance. We're building the tool that stands between Grandma's kitchen drawer and your smartphone, and keeps what's there readable for the next generation.